Creating your own Foam Samurai Armor cosplay can be an exciting journey. This guide will walk you through the process, from crafting individual armor pieces to sharing tips on painting and finishing touches. You’ll find an array of techniques and helpful insights that can bring your armor to life, ensuring you stand out at your next convention or event.
With parts one through five already available, this guide complements those earlier stages, focusing specifically on the lower body armor. Each step has been designed with you in mind, making it easy to follow along and create a stunning piece of art. Whether you’re a seasoned cosplayer or just starting out, you’ll gain valuable skills and confidence along the way.

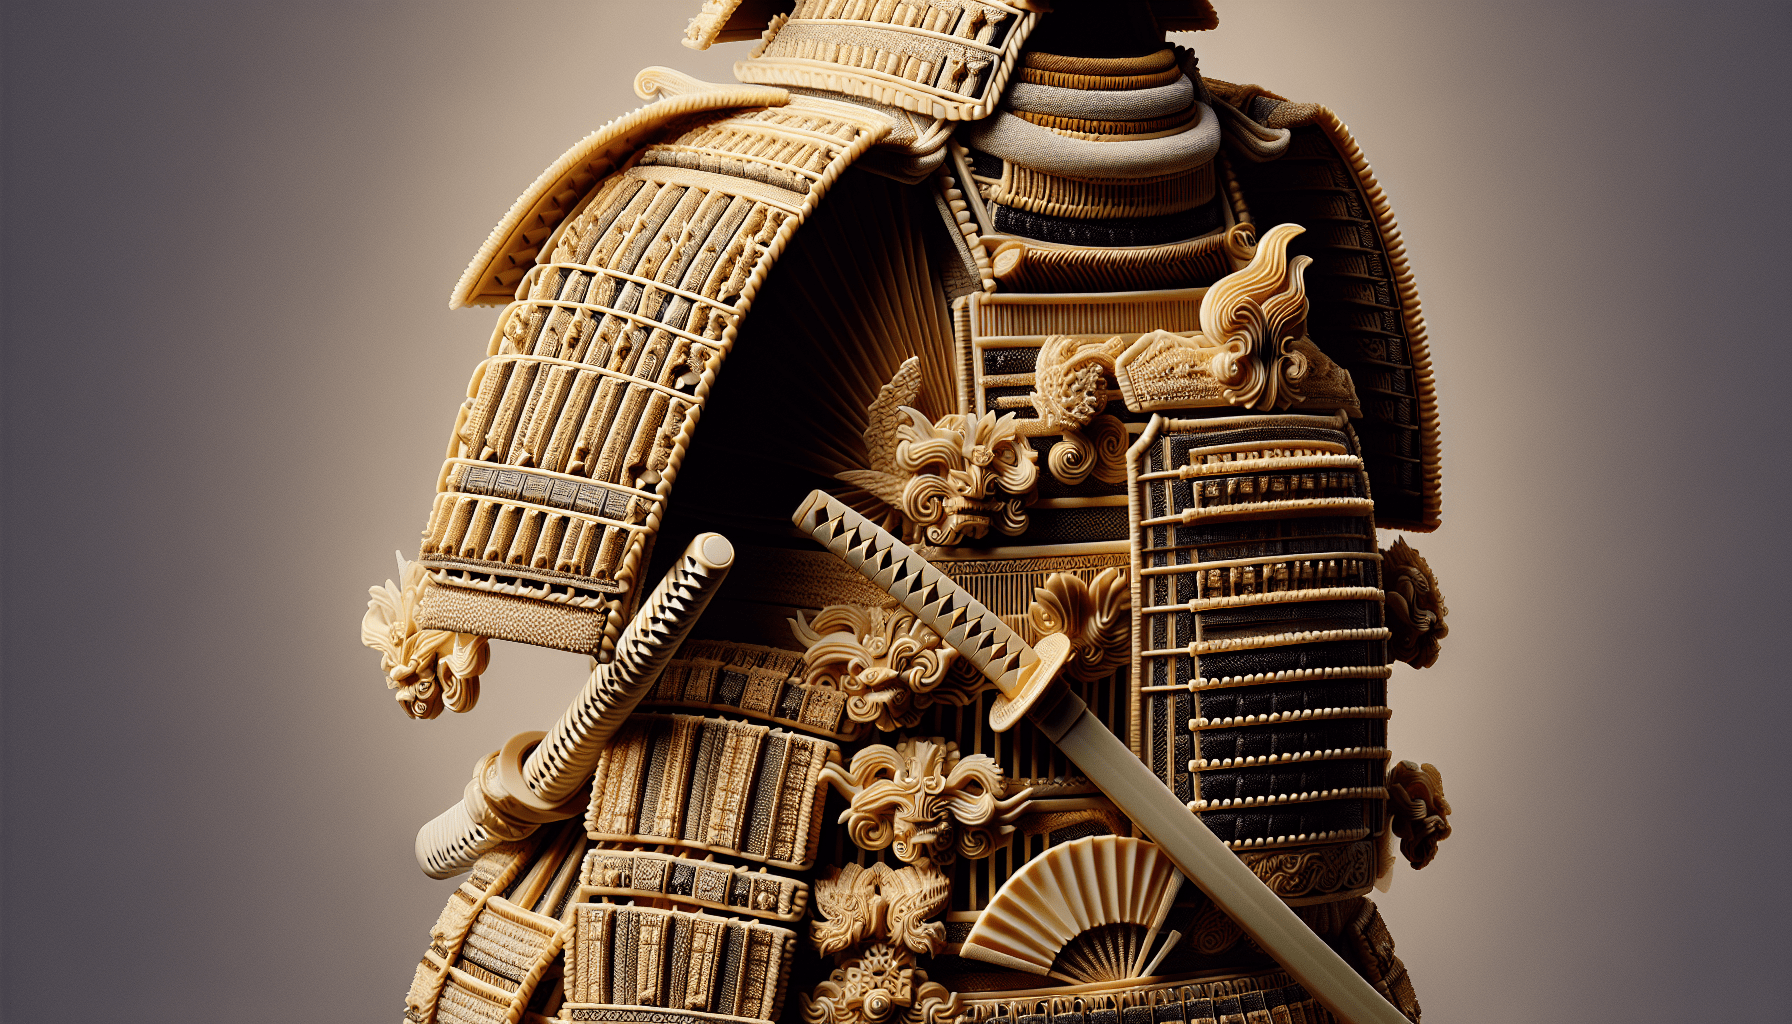
Overview of Foam Samurai Armor Cosplay
Definition of cosplay and its significance
Cosplay is more than just dressing up; it’s a creative expression that allows you to embody your favorite characters from movies, games, and literature. It’s a community activity that fosters friendship and teamwork, as fans come together to share their love of characters and storytelling. Through cosplay, you can showcase your skills, whether they be in crafting, sewing, or acting. It often empowers you to express your passions and engage with others who share your interests.
Brief history of samurai armor
Samurai armor, known as “yoroi,” has its roots in Japan’s feudal era, spanning from the 8th to the 19th centuries. Initially designed for mobility, protection, and to create a fearsome appearance on the battlefield, samurai armor evolved through various styles and materials. Traditional armor often featured intricate designs and vibrant colors, reflecting the samurai’s status and clan affiliation. Understanding its historical context enriches your cosplay experience while helping you appreciate the artistry involved in creating your masterpiece.
Introduction to foam crafting in cosplay
Foam crafting has become a favorite among cosplayers due to its lightweight, flexible, and affordable nature. Working with foam allows you to create intricate armor pieces without the bulk or weight of traditional materials like metal or fiberglass. You can easily cut, shape, and paint foam to achieve the desired look, making it perfect for samurai armor that requires both sturdiness and a touch of elegance. With the right techniques, you can craft armor that looks fantastic without sacrificing comfort.
Materials Required
Types of foam for armor crafting
When crafting armor, there are several types of foam to consider. The most commonly used foam is EVA foam, known for its durability and versatility. EVA comes in various thicknesses, allowing you to choose the right density for different armor pieces. You might also opt for craft foam, which is thinner and ideal for smaller details or layering. For those looking for a sturdier option, you might explore upholstery foam, although it’s generally less appropriate for armor as it doesn’t provide the same structure.
List of tools needed (knife, heat gun, glue, etc.)
To create your foam samurai armor, you’ll want to gather a few essential tools. Here’s a quick list for your crafting session:
- Craft knife or utility knife: For precise cutting of foam pieces.
- Heat gun: To shape and mold the foam.
- Contact cement or hot glue: To adhere pieces together securely.
- Ruler and measuring tape: For accurate measurements.
- Cutting mat: To protect surfaces while cutting foam.
- Sandpaper or a dremel tool: To smooth edges and give your pieces a finished look.
Optional materials (paints, embellishments, etc.)
While the basics will get you started, there are numerous optional materials that can help elevate your armor. Acrylic paints work well for a solid color base, while metallic paints can mimic the look of metal armor. Consider embellishments like fabric, faux fur, or leather to give your armor an authentic touch. You could even add LED lights for a modern twist on your samurai look!
Designing Your Armor
Researching samurai armor styles
Before you dive into crafting, take some time to research different samurai armor styles. Each era of samurai armor has distinct features and aesthetics—whether it’s the bold, layered designs of the Edo period or the more minimalist approach of earlier times. Look up images, gather references, and even watch documentaries or films featuring samurai to inspire your design.
Sketching your desired armor design
Once you’ve gathered some ideas, it’s time to sketch out your armor design. This doesn’t need to be a masterpiece; simple sketches will help you visualize how the pieces fit together. Consider aspects like mobility and comfort as you design, ensuring your creation is not only stunning but also functional. Don’t worry if it takes a few tries to get it right; a solid sketch will guide you through the crafting process.
Creating a template for armor pieces
With your design in hand, you can create templates for your armor pieces. Use large sheets of paper or cardboard to draft each segment, taking care to mark notches and joinery points for assembly. You can then trace these templates onto your foam. This step may seem tedious but is crucial for achieving the fit and proportions you want for your final armor.
Cutting and Shaping the Foam
Proper techniques for cutting foam
Cutting foam requires patience and precision. Use a sharp utility knife to slice through thicker pieces, ensuring you make clean cuts to avoid jagged edges. For intricate shapes, consider using a cutting mat to protect surfaces and maintain accuracy. When working with thinner craft foam, scissors can be more convenient for longer cuts. Always cut slowly to ensure a neat finish.
How to heat and shape foam properly
To shape foam, you’ll need a heat gun to heat and mold it. Start by warming the section of foam you want to shape, holding the heat gun about 6-8 inches away to prevent damage or melting. Once the foam becomes pliable, you can bend or stretch it into your desired shape. It cools quickly, so you’ll want to work efficiently and think ahead about how to position your pieces as you shape them.
Safety precautions while handling tools
While crafting can be a blast, safety must come first. Always wear protective eyewear when cutting or heating foam to shield your eyes from scraps or fumes. Use cutting mats to protect your working surface and avoid accidental cuts. Ensure your workspace is clear of clutter to minimize distractions and potential hazards. If you’re using adhesives, work in a well-ventilated area to breathe safely.

Assembly of Armor Pieces
Joining armor pieces using glue and straps
Once your foam pieces are cut and shaped, it’s time to assemble your armor. Use contact cement or hot glue to bond pieces together—don’t shy away from securing joints with duct tape or straps for extra strength. Make sure to allow ample drying time to ensure a robust bond. If you plan to wear your armor, consider adjustable straps to help it fit comfortably.
Creating adjustable features for comfort
Comfort is key to enjoying your cosplay experience. Think about incorporating adjustable features, like Velcro straps or buckles, to ensure that your armor fits snugly without pinching or restricting movement. You can add elastic bands to parts that will require flexibility or are subject to movement, like shoulder pieces or shin guards.
Layering techniques for added depth
Layering foam pieces not only adds depth and character to your armor but also enhances durability and interest in your design. Consider layering smaller pieces over larger base parts to create dimension. You could also combine different thicknesses of foam to enhance the overall appearance, giving your armor a visually rich texture that reflects the intricacy of traditional samurai design.
Adding Detail and Texture
Ways to create textures on foam (e.g., wood grain)
To bring your samurai armor to life, focus on the details and texturing. Several techniques are available; for instance, you can use various tools or your own hands to create textures like wood grain or fabric patterns. Use a dremel tool for precise grooves or build up texture with a heat gun by molding the surface. This not only adds realism but also intrigue to your design.
Using paint and other materials for detailing
Once you’ve textured your armor, the next step is detailing using paints and additional materials. Start with a primer to create a smooth base for paint adhesion. After priming, you can layer acrylic or spray paints for color. Consider using metallic finishes for highlights and adding accents with brush techniques or sponges for a weathered look.
Incorporating visual elements like symbols or patterns
Incorporate symbolic designs on your armor, whether they represent your character or personal meaning. This might include clan symbols, traditional Japanese motifs like waves or cherry blossoms, or even unique banners. You can sketch these directly onto the foam or use stencils for precision. Painting or etching these elements will personalize your creation and elevate your overall design.

Priming and Painting the Armor
Choosing the right primer and paint
Selecting the correct primer and paint can make or break your armor’s final look. A flexible primer, like Plasti Dip, is ideal for foam; it not only primes but also seals the surface, allowing paint to adhere better. For painting, opt for acrylics or spray paints that are formulated for crafting and modeling. They will provide a durable finish while keeping colors vibrant.
Step-by-step priming process
When priming your armor, start by cleaning the surface to remove any dust or debris. Once prepped, apply a light coat of primer using a spray can or a brush, depending on your preference. Allow it to dry completely and repeat for additional coats, providing an even base that will ensure the colors pop when you finally paint the armor.
Painting techniques for a realistic finish
To achieve a realistic finish, consider using techniques like dry brushing or layering. Dry brushing can highlight raised surfaces and add depth, while layering different shades can mimic the wear and tear of actual armor. Experiment with washes or glazes to give your armor an aged look, and always remember to practice on scraps before applying to your masterpiece.
Final Assembly of the Armor
Attaching straps and closures
As you complete your armor, it’s essential to securely attach straps and any closures necessary for wearability. Use robust materials like nylon straps or leather for durability and attach them using strong adhesive or by sewing them onto the foam where appropriate. Ensure that everything is secured, as loose pieces could impact not just your look, but your comfort during wear.
Putting together the full armor set
Gather all your completed pieces for the final assembly! Ensure that each piece is firmly attached, and that your straps are adjusted for a proper fit. Try on the assembled armor to check its overall appearance, making any needed adjustments to the angles or placement of the components. This is the moment to step back and admire your hard work!
Ensuring mobility and comfort in the final product
To enjoy your cosplay, mobility is paramount. Test your movements in the assembled armor, sitting, bending, and striking poses to see how everything feels. If something feels too restrictive, adjust the straps or consider trimming areas where the armor may hinder movement. It’s crucial to create a balance between aesthetic appeal and your comfort.
Testing and Adjustments
Wearing the armor and assessing fit
After final assembly, it’s time to wear your armor and assess the fit. Walk around, sit down, and even engage in typical cosplay poses to gauge how well your armor works with your body. Taking time to adjust for fit will pay off, making your cosplay experience more enjoyable during events.
Making necessary adjustments for comfort
If you find areas that pinch or chafe, don’t hesitate to rework those parts. Adding padding or shifting straps can significantly enhance comfort. You may also trim any excess material that feels too bulky, creating a cleaner line against your body, which will help you feel more confident while wearing your cosplay.
Addressing mobility issues and flexibility
Addressing mobility issues is essential, especially if you want to move freely during events. Look for places where the armor can be hinged or segmented, which allows movement without compromising the look of the entire piece. By being proactive about flexibility, you’ll enjoy your cosplay experience much more!
Conclusion
Recap of key steps in creating foam samurai armor
Creating foam samurai armor is a rewarding process that blends creativity and craftsmanship. From researching styles and sketching designs to cutting foam and adding intricate details, each step contributes to crafting a unique piece that represents your love for cosplay. Remember to focus on comfort and mobility as you bring your vision to life.
Encouragement to share your creations with the community
Once your armor is complete, don’t keep it to yourself—share your creation with the cosplay community! Post photos online, attend conventions, or join events to showcase your work. Engaging with others will not only inspire them but also help you connect with fellow fans who share your passion.
Final thoughts on the joy of cosplay
Cosplay is not just about creating an impressive outfit; it’s about expressing yourself, enjoying the process, and connecting with others. As you embark on your foam samurai armor journey, embrace the challenges and accomplishments along the way. Each piece represents your creativity and dedication—relish in the joy of producing something truly spectacular!