How can you restore an old or damaged samurai helmet? It might seem daunting at first, but with the right guidance, you can breathe new life into this piece of history. Whether you’re a collector, a history enthusiast, or just someone who has stumbled across an old piece, restoring a samurai helmet can be both a rewarding and fascinating venture.
Understanding the Samurai Helmet (Kabuto)
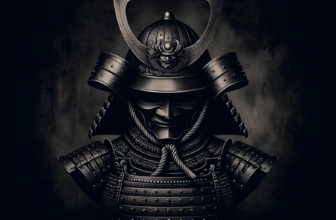
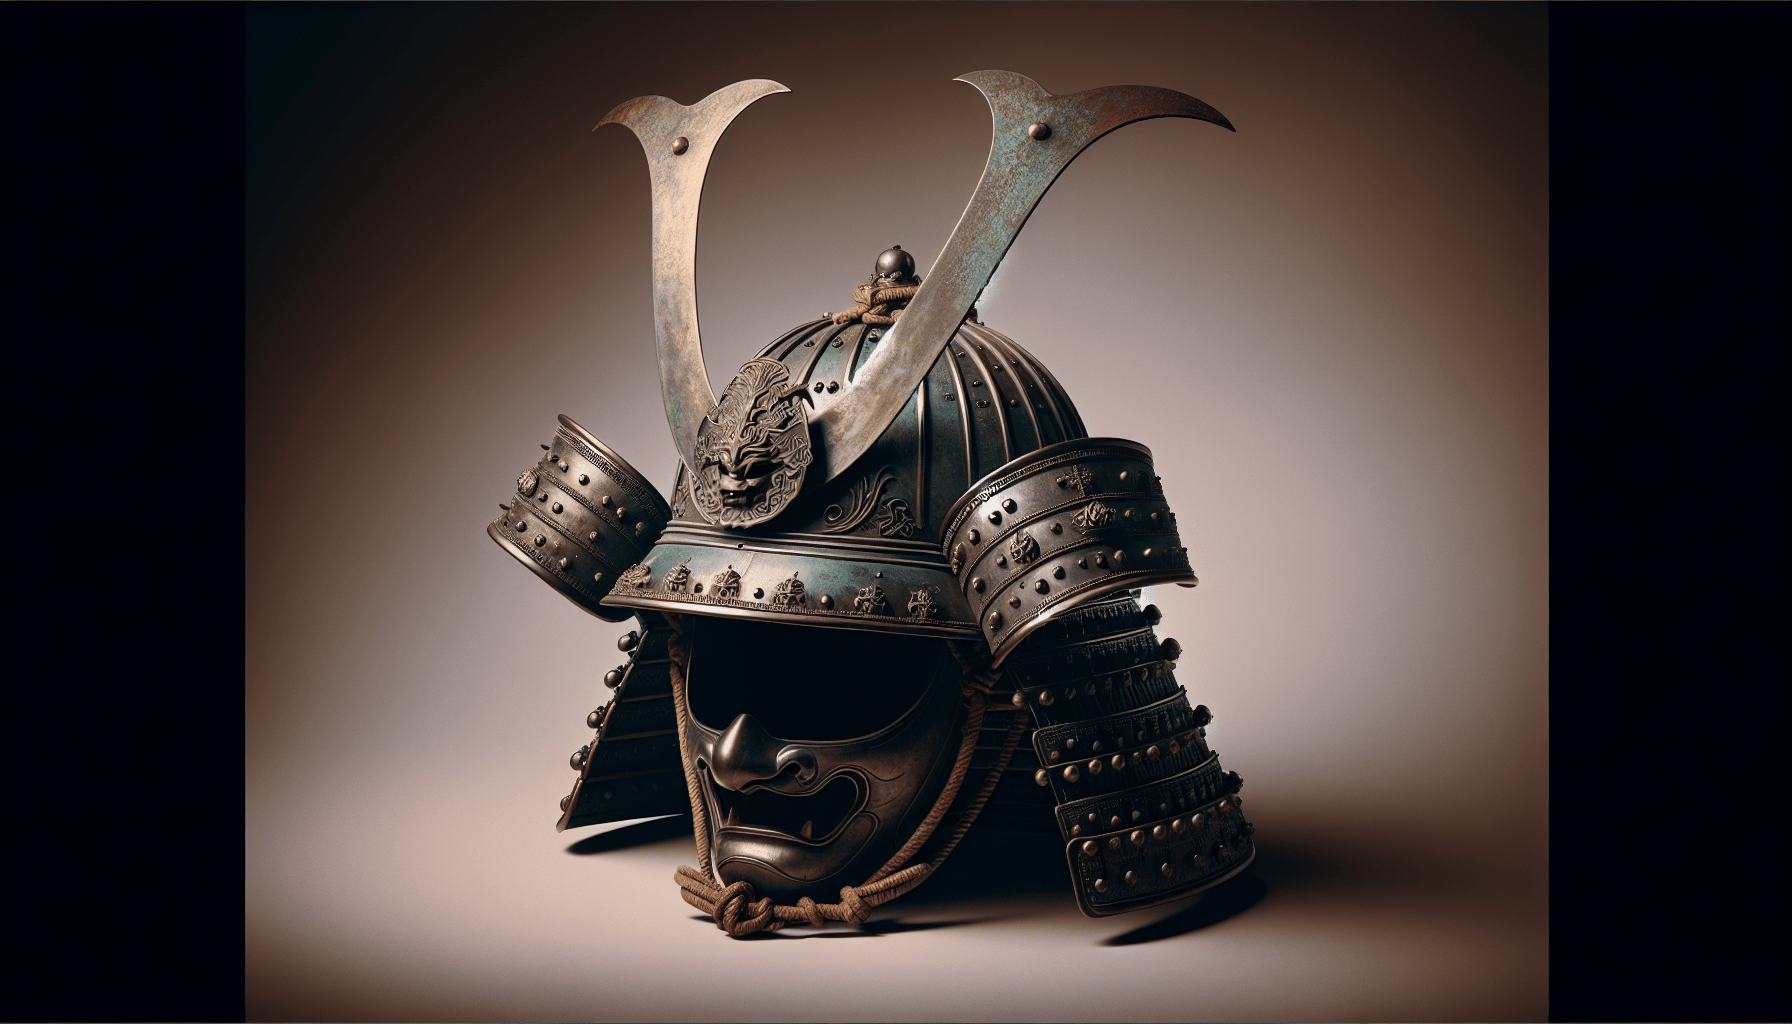
Before you start the restoration process, it’s crucial to understand what a samurai helmet, or kabuto, actually is. These helmets were not just protective gear; they were also symbolic and intricate pieces of art.
History of Kabuto
Kabuto have been an integral part of Japanese armor since the 7th century. They were designed to protect the head against blows from weapons while allowing for mobility. Over the years, various styles and embellishments were developed, reflecting the owner’s status and the era’s aesthetics. Understanding the history of your specific helmet can help inform your restoration process.
Types of Kabuto
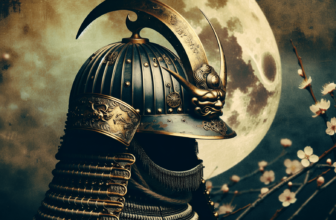
Several types of kabuto exist, each with unique characteristics:
| Type | Description | Era |
|---|---|---|
| Yari Kabuto | Characterized by its pointy crest, resembling a spear. | 16th Century |
| Tehen Kanmuri | Features a raised top that resembles a ‘telescope.’ | 15th Century |
| Hanbō | Lighter and simpler, often worn in peace, rather than in battle. | Edo Period |
Recognizing which type you have can guide your restoration choices.
Assessing the Condition
Now that you have a grasp of what a samurai helmet is, it’s time to assess its present condition. You should take note of the various elements that require attention.
Visual Inspection
Start with a careful visual inspection of the helmet. Look for:
- Cracks: Any visible cracks in the metal or lacquer.
- Rust: Signs of oxidation, particularly on iron pieces.
- Dents: Indentations that may have occurred over time.
- Missing parts: Any elements that may be completely gone.
Make sure to document your findings with photographs; this will help you keep track of your progress.
Functional Tests
Next, check the helmet’s functionality. If it has any moving parts—such as the signature ornaments or chin guards—ensure they still operate smoothly. It’s essential to not force anything that appears stuck, as this may cause further damage.

Gathering Materials for Restoration
Once you’ve assessed the helmet’s condition, it’s time to gather the appropriate tools and materials for restoration.
Tools You Will Need
Restoring a samurai helmet requires precision and the right tools, including:
| Tool | Purpose |
|---|---|
| Soft Brushes | For dust removal and cleaning without scratches. |
| Metal Polish | To treat rusted areas and restore shine. |
| Adhesive | For reattaching any loose components. |
| Lacquer | For refinishing surfaces and providing a protective layer. |
| Replacement Parts | In case any pieces are missing or damaged beyond repair. |
Ensure that all materials are suitable for use on antique items, as harsh chemicals can further deteriorate the helmet’s integrity.
Cleaning the Helmet
Before you can restore the helmet, it’s crucial to clean it thoroughly. This step can significantly prevent further damage during the restoration process.
Step-by-Step Cleaning Process
-
Dust Removal: Use a soft brush to gently remove any dust from the helmet. Avoid using a vacuum cleaner, as it may scratch the surface.
-
Rust Treatment: If you notice any rust, apply some metal polish using a soft cloth. Make sure to rub gently, focusing on the areas affected.
-
Lacquer Cleaning: Use a cloth dampened with a suitable cleaner to remove any grime from lacquer-covered areas. You want to avoid soaking the surface.
-
Final Rinse: After all debris is removed, wipe the entire helmet with a clean, dry cloth to ensure it’s dust-free.
What to Avoid
While cleaning, make sure to avoid using any abrasive materials that could scratch the surface or chemical solutions not intended for metal or lacquer work.

Restoring the Structure
Now, let’s move on to restoring the structural integrity of the helmet. This involves fixing cracks, dents, or any structural irregularities.
Repairing Cracks and Dents
-
Assess the Damage: Identify the type and location of the cracks or dents. Surface-level damage might require less intensive repairs compared to deep fissures.
-
Apply Adhesive: If cracks are present, you may need to apply a specialized adhesive to bind the cracked pieces together. Follow the manufacturer’s instructions for best results.
-
Denting Fix: For dents, you can use gentle taps from a designated tool designed for metalworking or consider seeking professional help if the dent is particularly deep.
-
Curing Time: Allow adequate time for any adhesives to set before moving onto the next step.
Reinforcing Structure
If certain areas are particularly weak, consider reinforcing them by adding additional support on the inside of the helmet. This can be done using strong yet lightweight materials, providing longevity to your restoration.
Refinishing the Surface
Once the structural integrity is repaired, it’s time to refinish the helmet’s surfaces to restore its aesthetic appeal.
Choosing the Right Finish
Selecting a finish is critical, as it can significantly affect both appearance and durability.
- Lacquer: A traditional choice for enhancing the beauty of the helmet while providing a protective layer against moisture and dust.
- Wax: An alternative that may give a more natural look while still providing a moisture seal.
Application Techniques
-
Preparation: Ensure the helmet is clean and dry before applying any finishes.
-
Layering: When using lacquer, apply in thin layers, allowing each to dry fully before adding the next. Too thick a coat can lead to runs.
-
Final Buffing: Once dry, gently buff the surface with a soft cloth to achieve a beautiful shine.
Adding Missing Parts
Sometimes, during the assessment, you might find that certain parts of the helmet are missing. This may include ornaments, chin guards, or even padding.
Finding Replacement Parts
You have a few options when it comes to sourcing replacement parts:
- Antique Shops: Often, shops focusing on historical items will carry authentic pieces you can use.
- Online Marketplaces: Websites such as eBay or specialized antique forums can yield results. Always authenticate the parts before buying.
- Reproduction Parts: If authenticity isn’t a priority, you can opt for quality reproductions designed to fit various types of kabuto.
Installation Tips
Once you’ve acquired replacement parts, here’s how to install them:
-
Test Fit: Before making any adhesive applications, ensure the new parts fit properly without forcing them.
-
Secure Attachment: Use the appropriate adhesive, ensuring it’s suitable for the materials you’re working with. Allow for adequate drying time.
-
Final Adjustments: Once everything is attached, make any necessary adjustments to ensure a snug fit.
Caring for Your Restored Kabuto
Congratulations! You’ve successfully restored the samurai helmet. However, your work doesn’t stop here. Caring for your kabuto is essential to keeping it in excellent shape.
Storage Recommendations
- Avoid Damp Areas: Store the helmet in a cool, dry place to prevent moisture accumulation, which can lead to rust and deterioration.
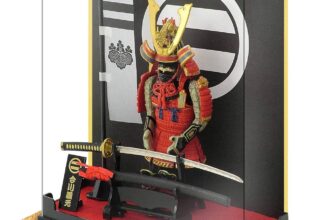
- Use Display Cases: Consider a display case that showcases the helmet while protecting it from dust and damage.
Regular Maintenance
- Periodic Cleaning: Dust your helmet regularly with a soft brush to keep it looking pristine.
- Inspect for Damage: Every few months, conduct a visual inspection to catch any developing issues early.
Conclusion
Restoring an old samurai helmet can be an enriching journey that not only preserves a piece of history but also connects you with the craftsmanship of the past. By understanding the helmet’s history, assessing its condition, and carefully executing the restoration process, you create a beautiful piece that tells a story.
Whether you decide to keep it as a display or delve into its history further, knowing that you played a part in bringing it back to life adds a special layer to your journey. Remember, you are now a custodian of a piece of culture, cherished and valuable for future generations to appreciate.